This article shows you how to set up to check your push notification history.
To implement the following functionality you need:
- central unit CPU
- environment for creating the logic - Object Manager
Implementation of the aforementioned functionality will require the creation of:
- scripts - in the example project named:
- sDeclaration - Declaration of global variables
- sIncDecPushNo - Support for displaying a specific notification
- sPushObjectX - Adding a notification to the notification database
- sPushQueue - Support for the notification database
- user features - in the example project named::
- RecordNo - The number of the currently displayed notification
- PushDisplay - The content of the currently displayed notification
- Push objects- In our example we use two objects:
- PushObject1 - First Push object
- PushObject2 - Second
CLU unit configuration
1. Double-click the CLU icon to enter the module settings
Go to the "User Features" tab and create number user features:
- RecordNo - Number of the currently displayed notification - initial value: 1 - type: Number
- PushDisplay - Content of currently displayed notification - Initial value: "No push notifications" - Type: String
- RecordsNumber - Quantity of push notification in memory - Initial value: 0 - type: Number
- MaxRecordNumbers - Size of notification memory - Initial value: 10 - type: Number
Logic configuration
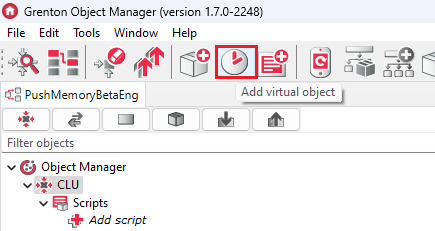
1. Prepare Push objects
To do so click icon Add CLU Object
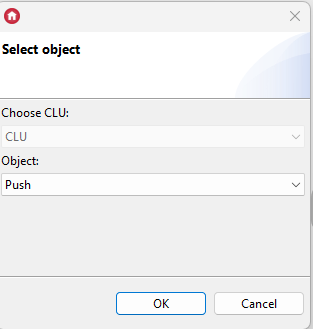
Choose Push object
Configure it as follow
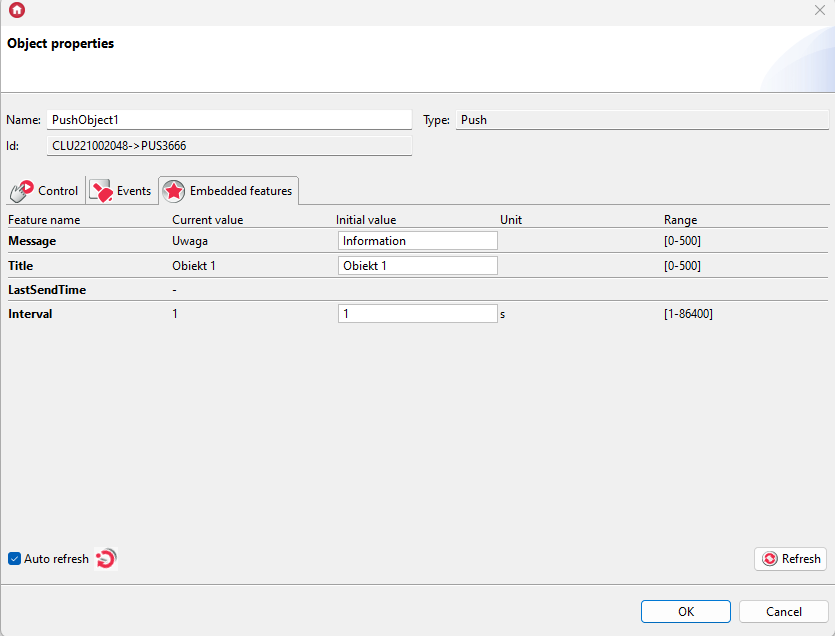
In the same way create PushObject2 object
2. The following scripts will be used to fully support the functionality:
- sDeclaration - Declaration of global variables
- sIncDecPushNo - Support for displaying a specific notification
- sPushObjectX - Adding a notification to the notification database
- sPushQueue - Support for the notification database
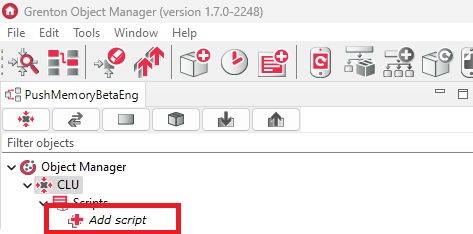
In order to create a script, click the Add script field in the object tree in the Object Manager
2. Prepare the script sDeclaration:
RecordTable ={}
Add script to CLU OnInit Event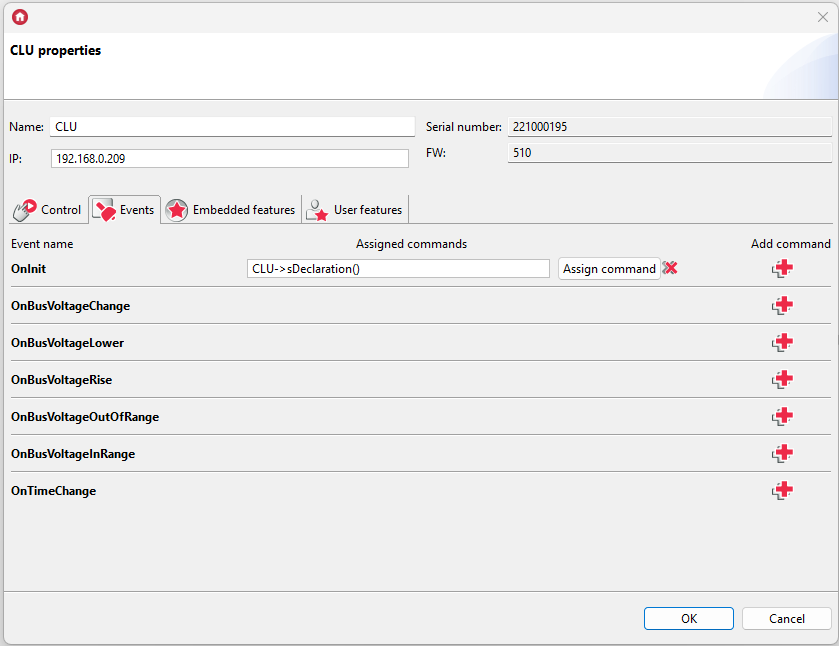
3. Prepare the script sIncDecPushNo:
if CLU->RecordsNumber>0 then
    if param =="Inc" then
        if CLU->RecordNo< CLU->RecordsNumber then
            CLU->RecordNo = CLU->RecordNo+1
        end
        end
if param == "Dec" then
    if CLU->RecordNo> 1 then
        CLU->RecordNo = CLU->RecordNo-1
    end
end
if param =="First" then
    CLU->RecordNo = 1
end
if param =="Last" then
    CLU->RecordNo = CLU->RecordsNumber
end
CLU->PushDisplay = RecordTable[CLU->RecordNo-1]
end
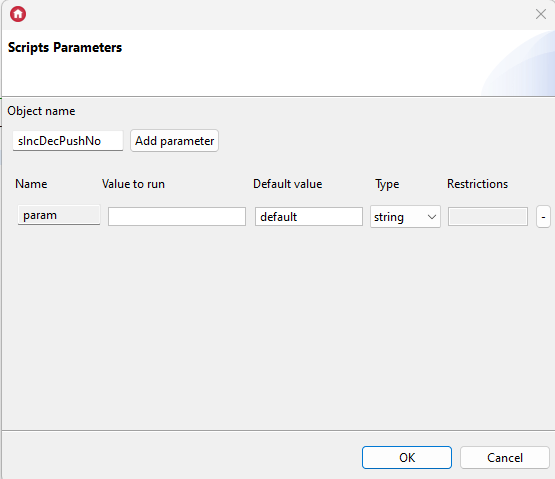
for the script add a parameter e.g. named param.
4. Prepare the sPushObject1 script:
while PushQueueActive == true do
end

CLU->sPushQueue()
RecordTable[0] = "Push send time: "..CLU->PushObject1->LastSendTime.. " Title: ".. CLU->PushObject1->Title..  " Message: "..  CLU->PushObject1->Message
Similarly, create scripts for all push objects in the system. Remember to change CLU and Push Object names in script.
5. Prepare the sPushQueue script:
if CLU->RecordsNumber< CLU->MaxRecordNumbers then
    CLU->RecordsNumber = CLU->RecordsNumber+ 1
end
PushQueueActive = true
for i = CLU->MaxRecordNumbers,1,-1 do
    RecordTable[i]=RecordTable[i-1]
end
PushQueueActive = false
Konfiguracja obiektów Push
Assign the execution of scripts to the onSend event:

Do the same assignment for all push objects in the system. Remember to assign different scripts to every object.
Sending configuration to the system
1. After making all the changes, send the configuration to the CLU using the button below on the toolbar:

Creating the myGrenton interface
1. Create an interface.
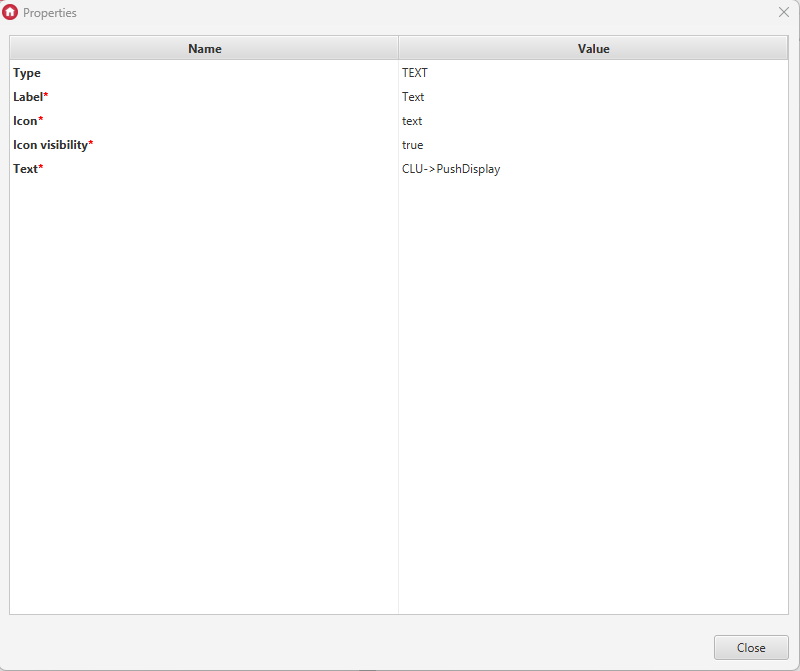
2. Add a TEXT widget and configure it as follows:
3. Add a SCENE_DOUBLE widget and configure it as follows:
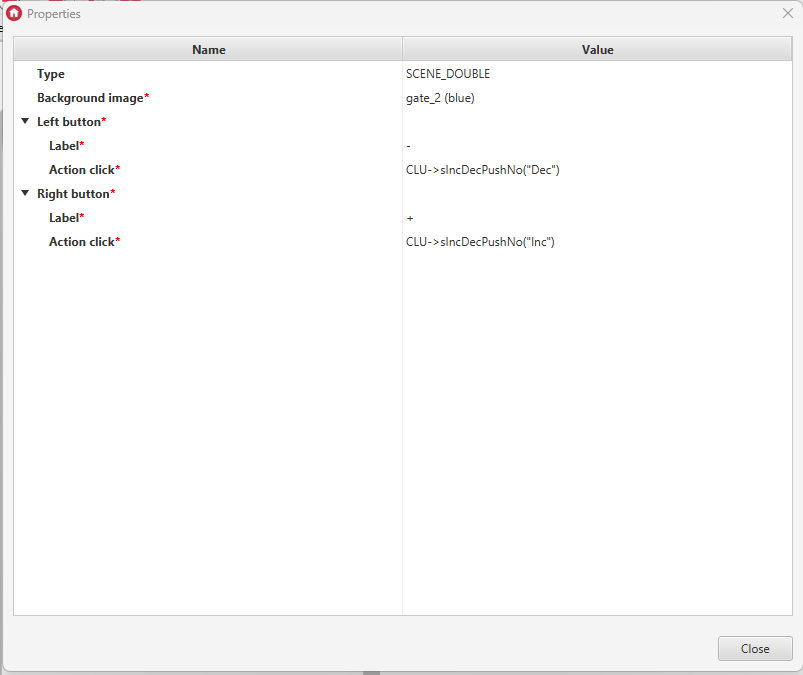
4. Add a SCENE_DOUBLE widget and configure it as follows:

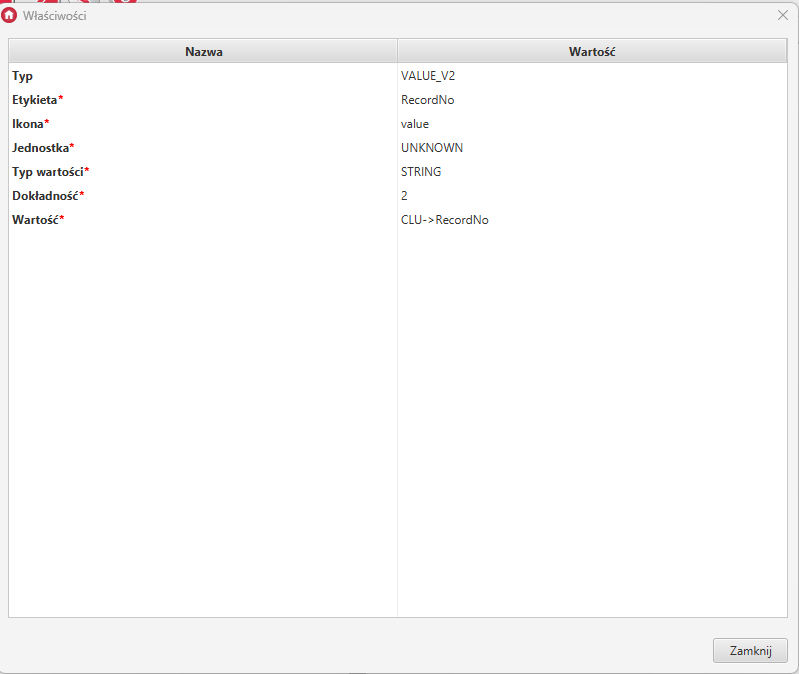
5. Add a VALUE_V2 widget and configure it as follows:
Checking the operation of the configuration
The following video shows how the created configuration works.